Creating your own graphic tee is a fantastic way to showcase your creativity and personal style. Whether you’re designing for yourself, launching a clothing brand, or making tees for a special event, following the right process ensures a professional and stylish result. This guide walks you through each step to help you create a high-quality, eye-catching tee.
Step 1: Define Your Design Concept
Before you begin, take time to define your vision.
- Purpose: Are you designing for personal use, branding, merchandise, or a specific occasion?
- Style: Do you want a minimalist, vintage, abstract, or bold typography look?
- Target Audience: Who will wear this tee? Consider age, interests, and style preferences.
- Inspiration: Browse Pinterest, Instagram, and fashion blogs to gather design ideas.
Step 2: Choose the Right Design Tools
The software you use determines the quality and complexity of your design.
- Beginner-friendly options: Canva, GIMP, Inkscape (ideal for simple, user-friendly designs)
- Professional-grade tools: Adobe Illustrator, Photoshop, CorelDRAW (best for high-resolution and vector graphics)
- AI-powered tools: Midjourney, DALL·E (for creating unique AI-generated art)
Step 3: Select the Best T-Shirt Fabric and Fit
The right fabric enhances comfort and print quality.
- Cotton: Soft, breathable, and great for detailed prints but may shrink.
- Polyester: Wrinkle-resistant with vibrant color retention but less breathable.
- Blends (Cotton + Polyester): A mix of comfort, durability, and print quality.
- Fit options:
- Standard fit: Everyday casual wear.
- Oversized fit: Trendy for streetwear and relaxed styles.
- Slim fit: Modern and stylish but less flexible.
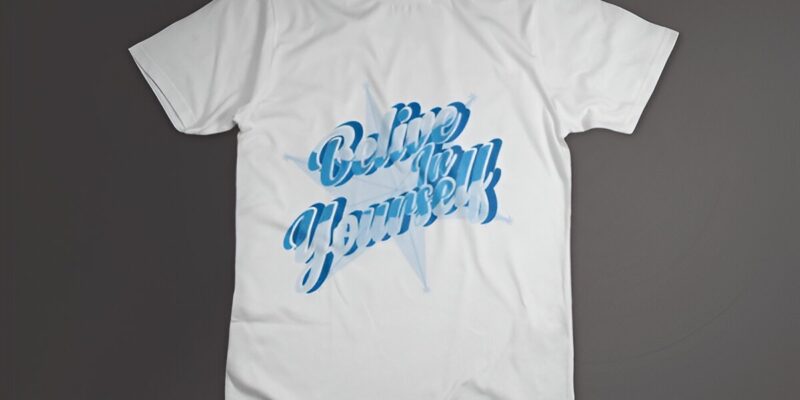
Step 4: Create Your Graphic or Logo
A well-thought-out design makes your tee stand out. Keep these factors in mind:
- Clarity: Use high-resolution images to avoid pixelation.
- Color Balance: Ensure contrast between the design and fabric color for visibility.
- Font Choice: Readability is key—choose fonts that enhance rather than overpower the design.
- Simplicity Wins: Avoid overly cluttered designs that may not print well.
Step 5: Test Your Design with Mockups
Before printing, preview how your design looks on a t-shirt using mockup tools:
- Placeit: User-friendly and great for beginners.
- SmartMockups: High-quality, realistic previews.
- Photoshop Mockups: Best for advanced designers needing customization.
Step 6: Choose Your Printing Method
The right printing technique ensures durability and accurate colors.
- Screen Printing:
- Best for bulk orders with vibrant, long-lasting prints.
- Works well for designs with fewer colors.
- Direct-to-Garment (DTG):
- Ideal for complex, multi-color designs.
- Best for smaller batches and detailed prints.
- Heat Transfer Vinyl (HTV):
- Great for single-color designs and DIY projects.
- Provides a slightly raised, textured feel.
- Sublimation Printing:
- Works well for all-over designs on polyester fabric.
- Produces fade-resistant graphics with vibrant colors.
Step 7: Print and Bring Your Design to Life
Once you finalize your design and printing method, it’s time to print. Here are your options:
- Print-on-Demand Services:
- Printful: Integrates with e-commerce platforms for direct sales.
- Teespring: Great for selling designs without managing inventory.
- Local Print Shops:
- Supports small businesses and allows hands-on quality checks.
- Offers flexibility for custom requests and bulk orders.
- DIY Printing:
- Use a screen printing kit for home projects.
- Best for personal use and small-scale production.
Bonus Tips for a Professional Look
- Experiment with Placement: Try centered logos, oversized graphics, or sleeve prints.
- Test for Wash Durability: Some fabrics and inks fade faster—pre-wash your tees before printing.
- Get Feedback: Share mockups with friends or online communities to get opinions before printing.
- Stay Trend-Aware: Keep an eye on emerging trends like vintage styles, minimalism, and eco-friendly fabrics.
Final Thoughts
Designing your own graphic tee is a rewarding process that blends creativity with fashion. Whether you’re making a personal statement piece or launching a brand, following these steps will help you create a high-quality, stylish, and comfortable tee. With the right tools, printing method, and materials, your design will be something people love to wear.
Ready to Create Your Perfect Tee? Visit Zfitters Now and Design Your Custom Graphic Shirt Today!